

Packaging plays a vital role in boosting a product’s presentation, protection, and overall consumer experience. Custom rigid packaging is one of the most popular choices for a variety of high-end products. It is bulkier and more expensive than the one made from cardboard. A simple folding carton typically costs $1 per unit, whereas, the average price for a rigid box is $4-5 per unit.
Also known as set-up boxes, they are a premium and high-end packaging for your brand’s costly offerings. This guide explains what are these boxes and how brands can amplify their protection factor.
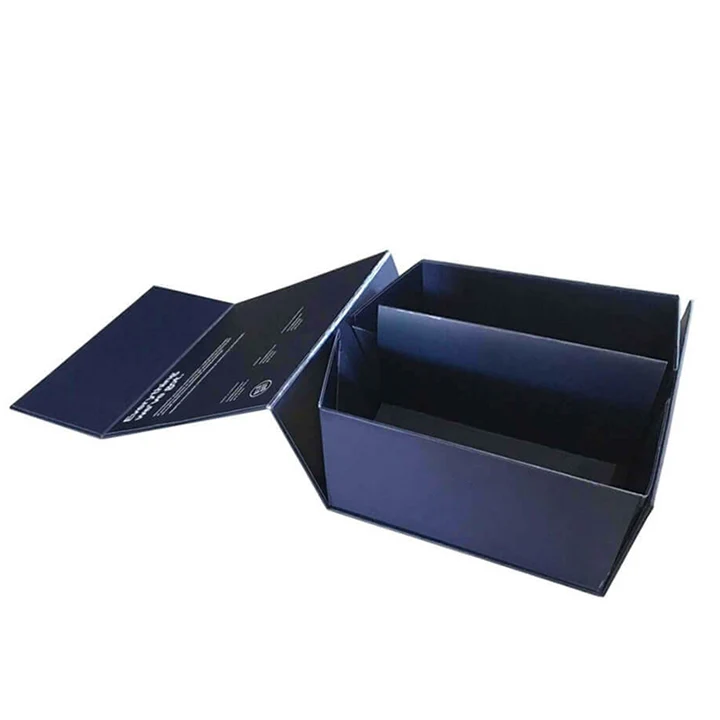
Custom Rigid Boxes: A Brief Introduction
They are sturdy, non-collapsible packaging boxes, made from thick cardboard. Rigid boxes are three times the width of cartons made from cardboard or Kraft stock. They retain their shape and provide immense protection and luxury presentation to the packed items. Brands often prefer them for packaging and shipping costly or delicate goods when they want to enrich a buyer’s shopping experience.
Rigid boxes are most common in the electronics, cosmetics, and luxury goods industries for their supreme protection and enhanced presentation. Unlike ordinary packaging, these boxes can be customized with modern printing and finishing methods. You can imprint them with your brand’s logo, theme, tagline, and other details.
TIPS TO CRAFT DURABLE AND APPEALING RIGID BOXES
1- Choose the Right Material
Choosing the right material lays the foundation for the solid packaging. Before starting to make strong rigid boxes, analyze your product’s weight and dimensions. This will help you estimate the box thickness and strength. Paperboard, being the ideal material, is usually used for manufacturing custom-printed rigid boxes. It is thick and sturdy, typically ranging from 800 to 1500 GSM.
Within the wide class of paperboard, greyboard is the most famous choice for these boxes. It is made from 100% recycled paper and comes in a wide range of thicknesses. You can get it in the form of a thin sheet or thick board, that matches your product’s needs. It is made by pressing multiple layers of paper pulp, ensuring greater strength.
2- Create the Box
After choosing the right material, set it flat on the ground. Take its measurement, cut, and score it to form the dotted lines. These lines are the points where the paperboard is folded to form the box. Use consistent pressure to fold along scored lines, ensuring straight and even edges. Top-quality, sharp cutting tools or die-cutting machines can ensure you clean and precise edges.
If you want intricate designs, die-cutting is the best for uniformity and accuracy of box shape. Decide on the type of rigid box. You can either go with the hinged lid box or can form the telescopic box. Ensure the box design aligns with the product’s needs and offers a snug fit to prevent its free movement. Cut corners at precise angles, typically 45 degrees to ensure seamless joints.
Then add reinforcements to the box edges and corners to boost durability. Use top-quality adhesive, to bond the box pieces together securely. Prefer the adhesive which is eco-friendly and non-toxic in composition, such as water and starch-based glues. Ensure even application to avoid weak spots. Give sufficient drying time so that the adhesive can set down properly and provide enough strength.
You can also use butt and lap joints to align the edges of the board. Moreover, design custom inserts for the snug fitting of products. You are free to choose between foam, cardboard, or molded pulp inserts to ensure the product’s safety during transit and display.
3- Print the Box
Box printing is a vital step in the manufacturing process of strong rigid boxes. It has the potential to boost the visual appeal and functionality of the packaging. Unlike a simple printing process, you can’t directly print on the custom rigid boxes. For them, you need a substrate and the right printing method. The substrate is the material onto which the design is printed. It is usually a high-quality paper that wraps around the paperboard.
For printing, you can go with offset, screen, and digital methods. If you want sharp details with vibrant colors, offset printing is the ideal option for you. Whereas, if you seek tailored and limited-edition designs then go with digital printing. It is suitable for smaller runs and offers flexibility and quick turnaround times as well. Screen printing is comparatively cheap and durable. You can use it to create simple designs with fewer colors.
Before starting the printing process, ensure your artwork is ready and aligns with your brand’s narrative and product’s features. Always use high-resolution pictures (at least 300 DPI) for clarity and sharpness. Make sure to set the artwork in CMYK color mode for accurate color production. Don’t miss including a bleed area (usually 3-5mm) around the edges of the box design to prevent white borders after trimming.
Once the artwork and substrate are ready, proceed with the printing process. Align the substrate in the machine and run a test print to check for accuracy. Make the necessary adjustments if needed before proceeding with the full print run. If satisfied with the test print, run the full print, ensuring quality.
4- Wrap the Box
Once your printed substrate is ready, you can start wrapping, the final step in making strong rigid boxes. It not only makes the box durable but boosts its visual appeal as well. Firstly, cut the substrate to the exact dimensions needed to cover the box surface. Ensure it folds over the edges and corners. Before applying, inspect its quality. Check for any defects, such as misprints or damage to ensure a flawless finish.
Then apply a thin layer of eco-friendly and non-toxic glues, like gelatin or starch-based adhesives to the paperboard. Use a brush or a roller to ensure the adhesive covers the entire surface without any gaps. Carefully align the printed substrate with the paperboard and press it firmly. Again use a roller to smooth out any air bubbles or wrinkles. After this, fold the substrate over the edges of the paperboard, starting with the longer sides. Tuck in corners neatly to avoid bulkiness.
Add more glue to the edges and corners if needed, and press firmly to ensure they stick properly. At last, gently test the strength of the wrapping by applying slight pressure. Make necessary adjustments if you find any air bubbles or wrinkles. Once done with quality assurance, you are ready to launch your brand’s products in durable rigid box.
Creating sturdy and visually appealing packaging plays a key role in boosting a brand’s sales. Are you also looking for a reliable supplier to make and deliver strong rigid boxes with fast turnaround times? Contact Packaging Mania, one of the most trusted packaging brands, and get high-quality boxes at wholesale rates. Hurry up! Visit their website and get a free quote now.


